1. Introduction to Pumpkin Pie with Condensed Milk

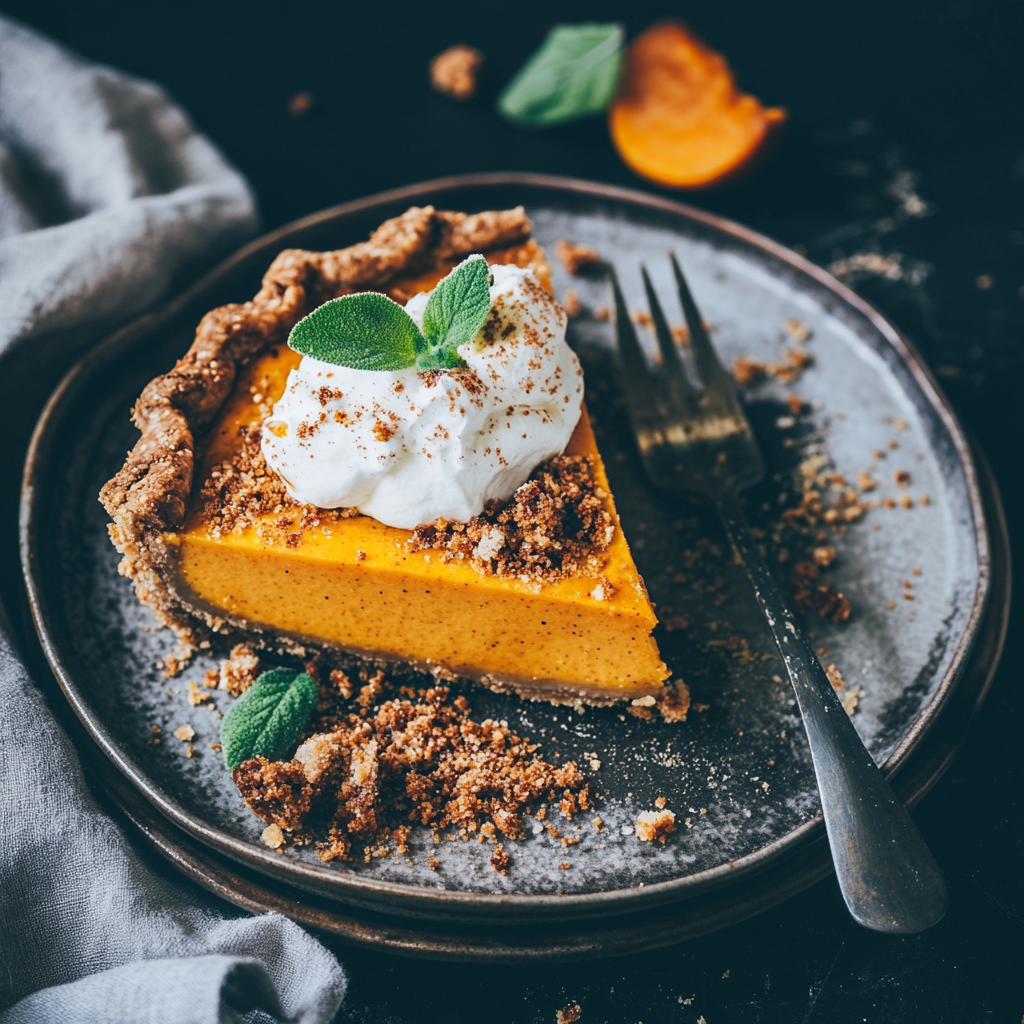
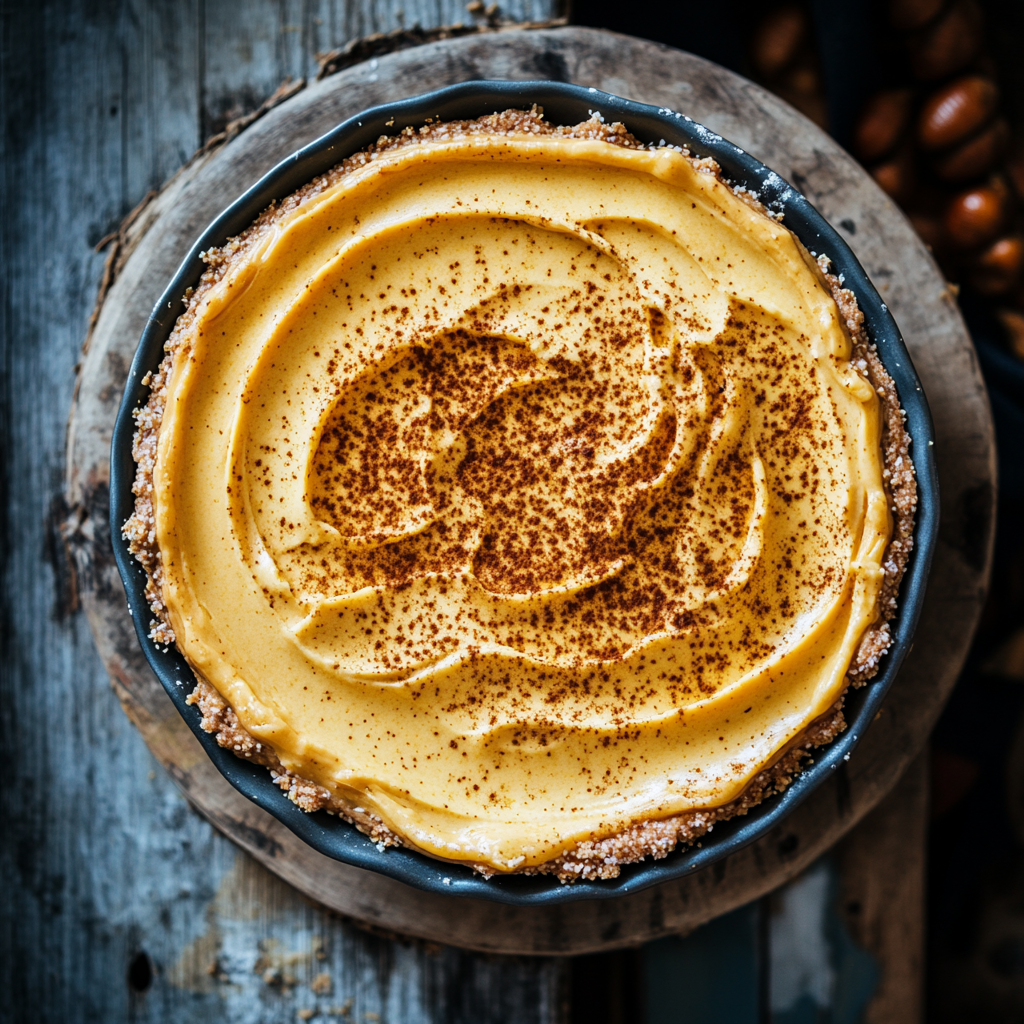
Pumpkin pie with condensed milk is a delicious twist on the classic dessert that has been a beloved favorite in North America for centuries. Combining the rich, velvety texture of sweetened condensed milk with pumpkin puree, this recipe creates a perfectly creamy and flavorful filling. Pumpkin pie has long symbolized warmth, family, and tradition, making it a staple for Thanksgiving and fall gatherings.
Unlike traditional recipes that rely on evaporated milk and sugar, pumpkin pie with condensed milk simplifies the process while enhancing the flavor and texture. The natural sweetness and smooth consistency of condensed milk make this recipe a game-changer, ensuring every slice of pie is perfectly spiced and indulgent. Whether you’re a seasoned baker or new to the kitchen, this version of pumpkin pie guarantees a show-stopping dessert that will impress family and friends alike.
2. What Makes This Pumpkin Pie Recipe Special?
The secret to this pumpkin pie’s standout flavor and texture lies in the use of sweetened condensed milk. Unlike traditional recipes that rely on heavy cream or evaporated milk, condensed milk brings a unique combination of sweetness and creaminess that eliminates the need for extra sugar. This not only simplifies the recipe but also creates a richer, silkier filling that melts in your mouth.
Benefits of Using Sweetened Condensed Milk:
- Consistency: The thick, syrupy nature of condensed milk guarantees a smooth, lump-free filling.
- Flavor: Its natural sweetness pairs perfectly with pumpkin and spices like cinnamon, nutmeg, and cloves, enhancing the overall taste of the pie.
- Convenience: By using condensed milk, you reduce the need for measuring and combining multiple sweeteners or dairy products, saving time without sacrificing quality.
Comparison with Traditional Recipes:
Traditional pumpkin pie recipes often use heavy cream or evaporated milk as the liquid base. While heavy cream adds richness, it requires additional sugar to sweeten the filling, which can sometimes result in uneven sweetness. Evaporated milk, though commonly used, lacks the same luxurious texture that condensed milk provides.
With pumpkin pie with condensed milk, you get a foolproof recipe that balances flavor and creaminess perfectly, yielding a dessert that’s smooth, sweet, and irresistibly delicious. This special approach to pumpkin pie is a game-changer, offering simplicity and indulgence in every bite.
3. Essential Ingredients for Pumpkin Pie Recipe with Condensed Milk
Creating a perfectly smooth and flavorful pumpkin pie starts with gathering the right ingredients. Below is a detailed list of essential items you’ll need:
- Pumpkin Puree: Use 1 can (15 ounces) of pure pumpkin puree, not pumpkin pie filling. Look for a brand with 100% pumpkin and no added sugar or spices for the best control over flavor. For a homemade option, roast fresh sugar pumpkins and puree the flesh until smooth.
- Sweetened Condensed Milk: Use 1 can (14 ounces) of sweetened condensed milk. It provides creaminess and sweetness without the need for extra sugar. Opt for a high-quality brand to ensure the filling is rich and smooth.
- Eggs: 2 large eggs are essential to bind the filling and give the pie its custard-like consistency.
- Spices: Use a combination of warm spices: 1 teaspoon cinnamon, 1/2 teaspoon ground ginger, 1/4 teaspoon nutmeg, and 1/4 teaspoon cloves. For convenience, you can substitute 2 teaspoons of pumpkin pie spice.
- Pie Crust: You’ll need a 9-inch pie crust, either homemade or store-bought. Choose a flaky, tender crust to complement the smooth filling.
Tips for Choosing Ingredients:
- Pumpkin Puree: Canned puree saves time and ensures consistency. Brands like Libby’s or Farmer’s Market Organic are popular for their rich texture. Avoid “pumpkin pie mix,” as it already contains sugar and spices.
- Condensed Milk: Sweetened condensed milk provides sweetness and creaminess. Double-check the label to ensure you don’t pick evaporated milk by mistake.
4. Step-by-Step Instructions for the Perfect Pumpkin Pie
Prepping the Crust:
If using a homemade pie crust, prepare the dough in advance, chill it for 30 minutes, and roll it out to fit a 9-inch pie plate. Place the crust in the plate, trim any overhanging edges, and crimp the edges decoratively. For a store-bought crust, allow it to thaw if frozen and fit it into the pie plate as needed. Prebaking the crust for 5-7 minutes at 375°F ensures it stays crisp and flaky.
Mixing the Filling:
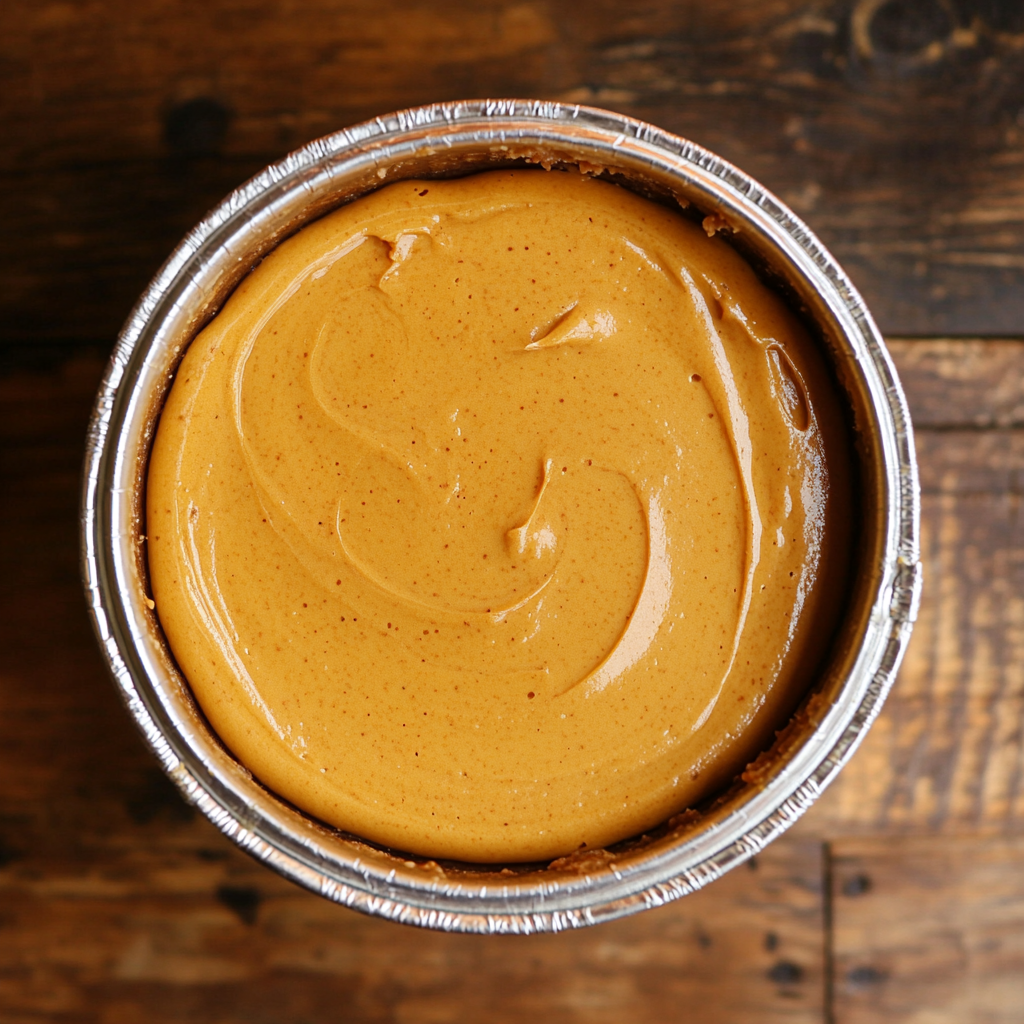
In a large mixing bowl, combine the pumpkin puree, sweetened condensed milk, eggs, and spices. Whisk the mixture until smooth and well-blended. Avoid overmixing, as it can introduce air bubbles into the filling. The consistency should be thick and velvety.
Baking the Pie:
Preheat the oven to 425°F. Pour the filling into the prepared pie crust, spreading it evenly. Place the pie on the center oven rack and bake at 425°F for 15 minutes. Reduce the temperature to 350°F and continue baking for 35-40 minutes, or until the center is set and slightly jiggles when gently shaken. To prevent the crust from over-browning, cover the edges with aluminum foil halfway through baking.
Cooling and Setting:
Once baked, remove the pie from the oven and allow it to cool on a wire rack for at least 2 hours. This cooling time ensures the pie sets properly and achieves a smooth, firm texture. Avoid slicing the pie while it’s still warm, as it may not hold its shape. For best results, refrigerate the pie for a few hours before serving.

5. Popular Topping Ideas for Pumpkin Pie
Enhance your pumpkin pie with these delicious and decorative topping ideas:
- Whipped Cream: A classic topping that complements the rich pumpkin filling. Use homemade whipped cream for the best flavor by whipping heavy cream with a tablespoon of sugar and a dash of vanilla extract. Pipe it around the edges or dollop generously on each slice.
- Chocolate Glaze: Add a decadent twist by drizzling melted chocolate over the pie. Use semi-sweet or dark chocolate for a perfect balance to the pie’s sweetness. Chill the pie briefly to allow the chocolate to set before serving.
- Streusel Topping: For added texture and flavor, sprinkle a streusel made of brown sugar, butter, flour, and chopped pecans over the pie before baking. The streusel will create a crunchy, sweet topping that pairs beautifully with the smooth filling.
- Sour Cream Glaze: For a tangy contrast, whisk together sour cream, powdered sugar, and a splash of vanilla extract. Spread the glaze lightly over the cooled pie for a silky finish that balances the pie’s sweetness.
These toppings not only enhance the flavor of your pumpkin pie but also add visual appeal, making it the star of any holiday table. Mix and match toppings to suit your taste or serve them on the side for a customizable dessert experience!
6. Baking Tips for the Perfect Pumpkin Pie
Achieving the perfect pumpkin pie requires careful attention to avoid cracks and ensure the filling is smooth and set.
Avoiding Cracks in the Pie Filling:
- Don’t Overbake: Cracks occur when the pie filling is overbaked, causing it to contract and split as it cools. To prevent this, remove the pie while the center is still slightly jiggly.
- Bake at the Right Temperature: Bake the pie at 350°F (175°C) for a gentle, even bake. High temperatures can cause the filling to puff up and then sink, leading to cracks.
- Cool Gradually: Allow the pie to cool slowly at room temperature. Sudden temperature changes, such as refrigerating the pie while it’s hot, can cause cracking.
How to Know When the Pie Is Perfectly Baked:
- The edges of the filling should be set, while the center should still jiggle slightly, like gelatin. The filling will continue to firm up as the pie cools.
- Use a thermometer for accuracy: the internal temperature should reach 175°F (80°C).
- Avoid piercing the filling too often, as this can cause cracks.
By baking gently and checking for the right consistency, you’ll achieve a perfectly smooth and delicious pumpkin pie.
7. Recipe Variations: Pumpkin Pie Twists
Pumpkin pie is a classic, but adding a twist can make it even more exciting. Here are three delicious variations:
1. Graham Cracker Crust:
Replace the traditional pie crust with a graham cracker crust for added sweetness and crunch.
- Combine 1 ½ cups graham cracker crumbs, 6 tablespoons melted butter, and ¼ cup sugar.
- Press the mixture into the pie pan and bake at 350°F for 8-10 minutes to set before adding the pumpkin filling.
2. Dairy-Free Pumpkin Pie:
Make a creamy dairy-free version using coconut condensed milk.
- Replace sweetened condensed milk with an equal amount of coconut condensed milk. It adds a subtle coconut flavor while keeping the pie rich and smooth.
- Use plant-based whipped cream or coconut cream for a dairy-free topping.
3. Mini Pumpkin Pies:
For portion control or festive gatherings, make mini pumpkin pies.
- Use a muffin tin and line each cup with pie dough or graham cracker crust.
- Fill each cup with the pumpkin pie mixture, leaving a little room for expansion. Bake at 350°F for 20-25 minutes, or until the filling sets.
- Top with whipped cream for a cute, individual treat.
These variations are fun, flavorful, and perfect for any holiday table.
8. Common Mistakes and Troubleshooting
Even experienced bakers can face challenges when making pumpkin pie. Here’s how to fix common issues:
1. Pie Filling Too Runny:
- Cause: The filling may have too much liquid or wasn’t baked long enough.
- Solution: Add a bit of cornstarch or flour to the pumpkin mixture before baking to help thicken it. If already baked, refrigerate the pie for a few hours to firm up the filling.
2. Overbaking or Underbaking Issues:
- Overbaked: If the pie has cracks or a rubbery texture, it was baked too long. To avoid this, follow recommended baking times and check the center’s jiggle.
- Underbaked: If the filling is still runny after baking, allow it to bake longer in 5-minute increments, checking frequently. Tent the crust with foil to prevent over-browning.
3. How to Fix a Soggy Crust:
- Cause: Excess moisture from the filling or underbaking the crust leads to sogginess.
- Solution: Pre-bake (par-bake) the crust for 10-12 minutes before adding the filling. For extra insurance, brush the crust with an egg wash and bake for 2 minutes to create a moisture barrier.
- If the pie is already baked, place it on a lower oven rack for a few minutes to crisp up the bottom crust.
By understanding and troubleshooting these common mistakes, you can ensure your pumpkin pie turns out perfectly every time.

9. Frequently Asked Questions (FAQs)
1. Can I use evaporated milk instead of condensed milk?
No, evaporated milk cannot be used as a direct substitute for condensed milk in this recipe. While both are concentrated forms of milk, sweetened condensed milk is thick and sweetened, whereas evaporated milk is unsweetened and has a thinner consistency. If you choose to use evaporated milk, you will need to add sugar (about 3/4 cup for a standard pie) and adjust for the thinner texture, which may affect the creaminess of the filling.
2. How long does pumpkin pie last in the fridge?
Pumpkin pie made with condensed milk can last 3 to 4 days in the refrigerator when properly stored. Allow the pie to cool completely after baking, then cover it tightly with plastic wrap or aluminum foil before refrigerating. For the best flavor and texture, serve chilled or at room temperature within this timeframe.
3. Can I freeze pumpkin pie with condensed milk?
Yes, pumpkin pie with condensed milk freezes beautifully. To freeze, allow the pie to cool completely, then wrap it tightly in plastic wrap followed by a layer of aluminum foil. Freeze for up to 2 months. When ready to serve, thaw the pie overnight in the refrigerator. Avoid freezing warm pies, as this can lead to excess moisture and a soggy crust.
4. What’s the difference between canned pumpkin and pumpkin pie filling?
- Canned pumpkin (pure pumpkin puree): Contains only cooked and pureed pumpkin with no added ingredients. It is a blank canvas that allows you to control the sweetness and spices.
- Pumpkin pie filling: Pre-seasoned and pre-sweetened with spices like cinnamon, nutmeg, and sugar. While convenient, it removes the ability to adjust flavors to your preference.
For this recipe, always use canned pumpkin puree, not pumpkin pie filling, as the sweetened condensed milk already adds the necessary sweetness.
Internal Links for Inspiration
- For a perfect crust: Perfect Crisco Pie Crust Recipe
- Looking for dessert ideas? Try the chocolate pound cake recipe.
- Add a twist to your table with a fruity peach cobbler recipe with cake mix.
Outbound Resources
For more baking tips and pie ideas, check out:
With this foolproof pumpkin pie recipe with condensed milk, you’ll create a show-stopping dessert that everyone will love!
11. Final Thoughts on Pumpkin Pie Recipe with Condensed Milk
This pumpkin pie recipe with condensed milk is the perfect addition to your holiday table and beyond. Its rich, velvety texture and perfectly balanced spices make it a timeless classic that brings warmth and comfort to every bite. Whether you’re celebrating Thanksgiving, a family gathering, or simply craving a cozy dessert, this recipe is guaranteed to impress.
What makes this recipe truly special is its simplicity and foolproof nature. With just a few basic ingredients and easy-to-follow steps, even beginner bakers can create a stunning pie with a smooth, creamy filling and a flaky crust. The sweetened condensed milk eliminates the need for extra sugar, ensuring consistent results every time.
Don’t wait for a special occasion to enjoy this homemade treat. Give this pumpkin pie recipe a try, and you’ll quickly discover why it’s a favorite for the holidays and all year round!
